Simple (Almost) No-Waste Tote Bag
by Cameron
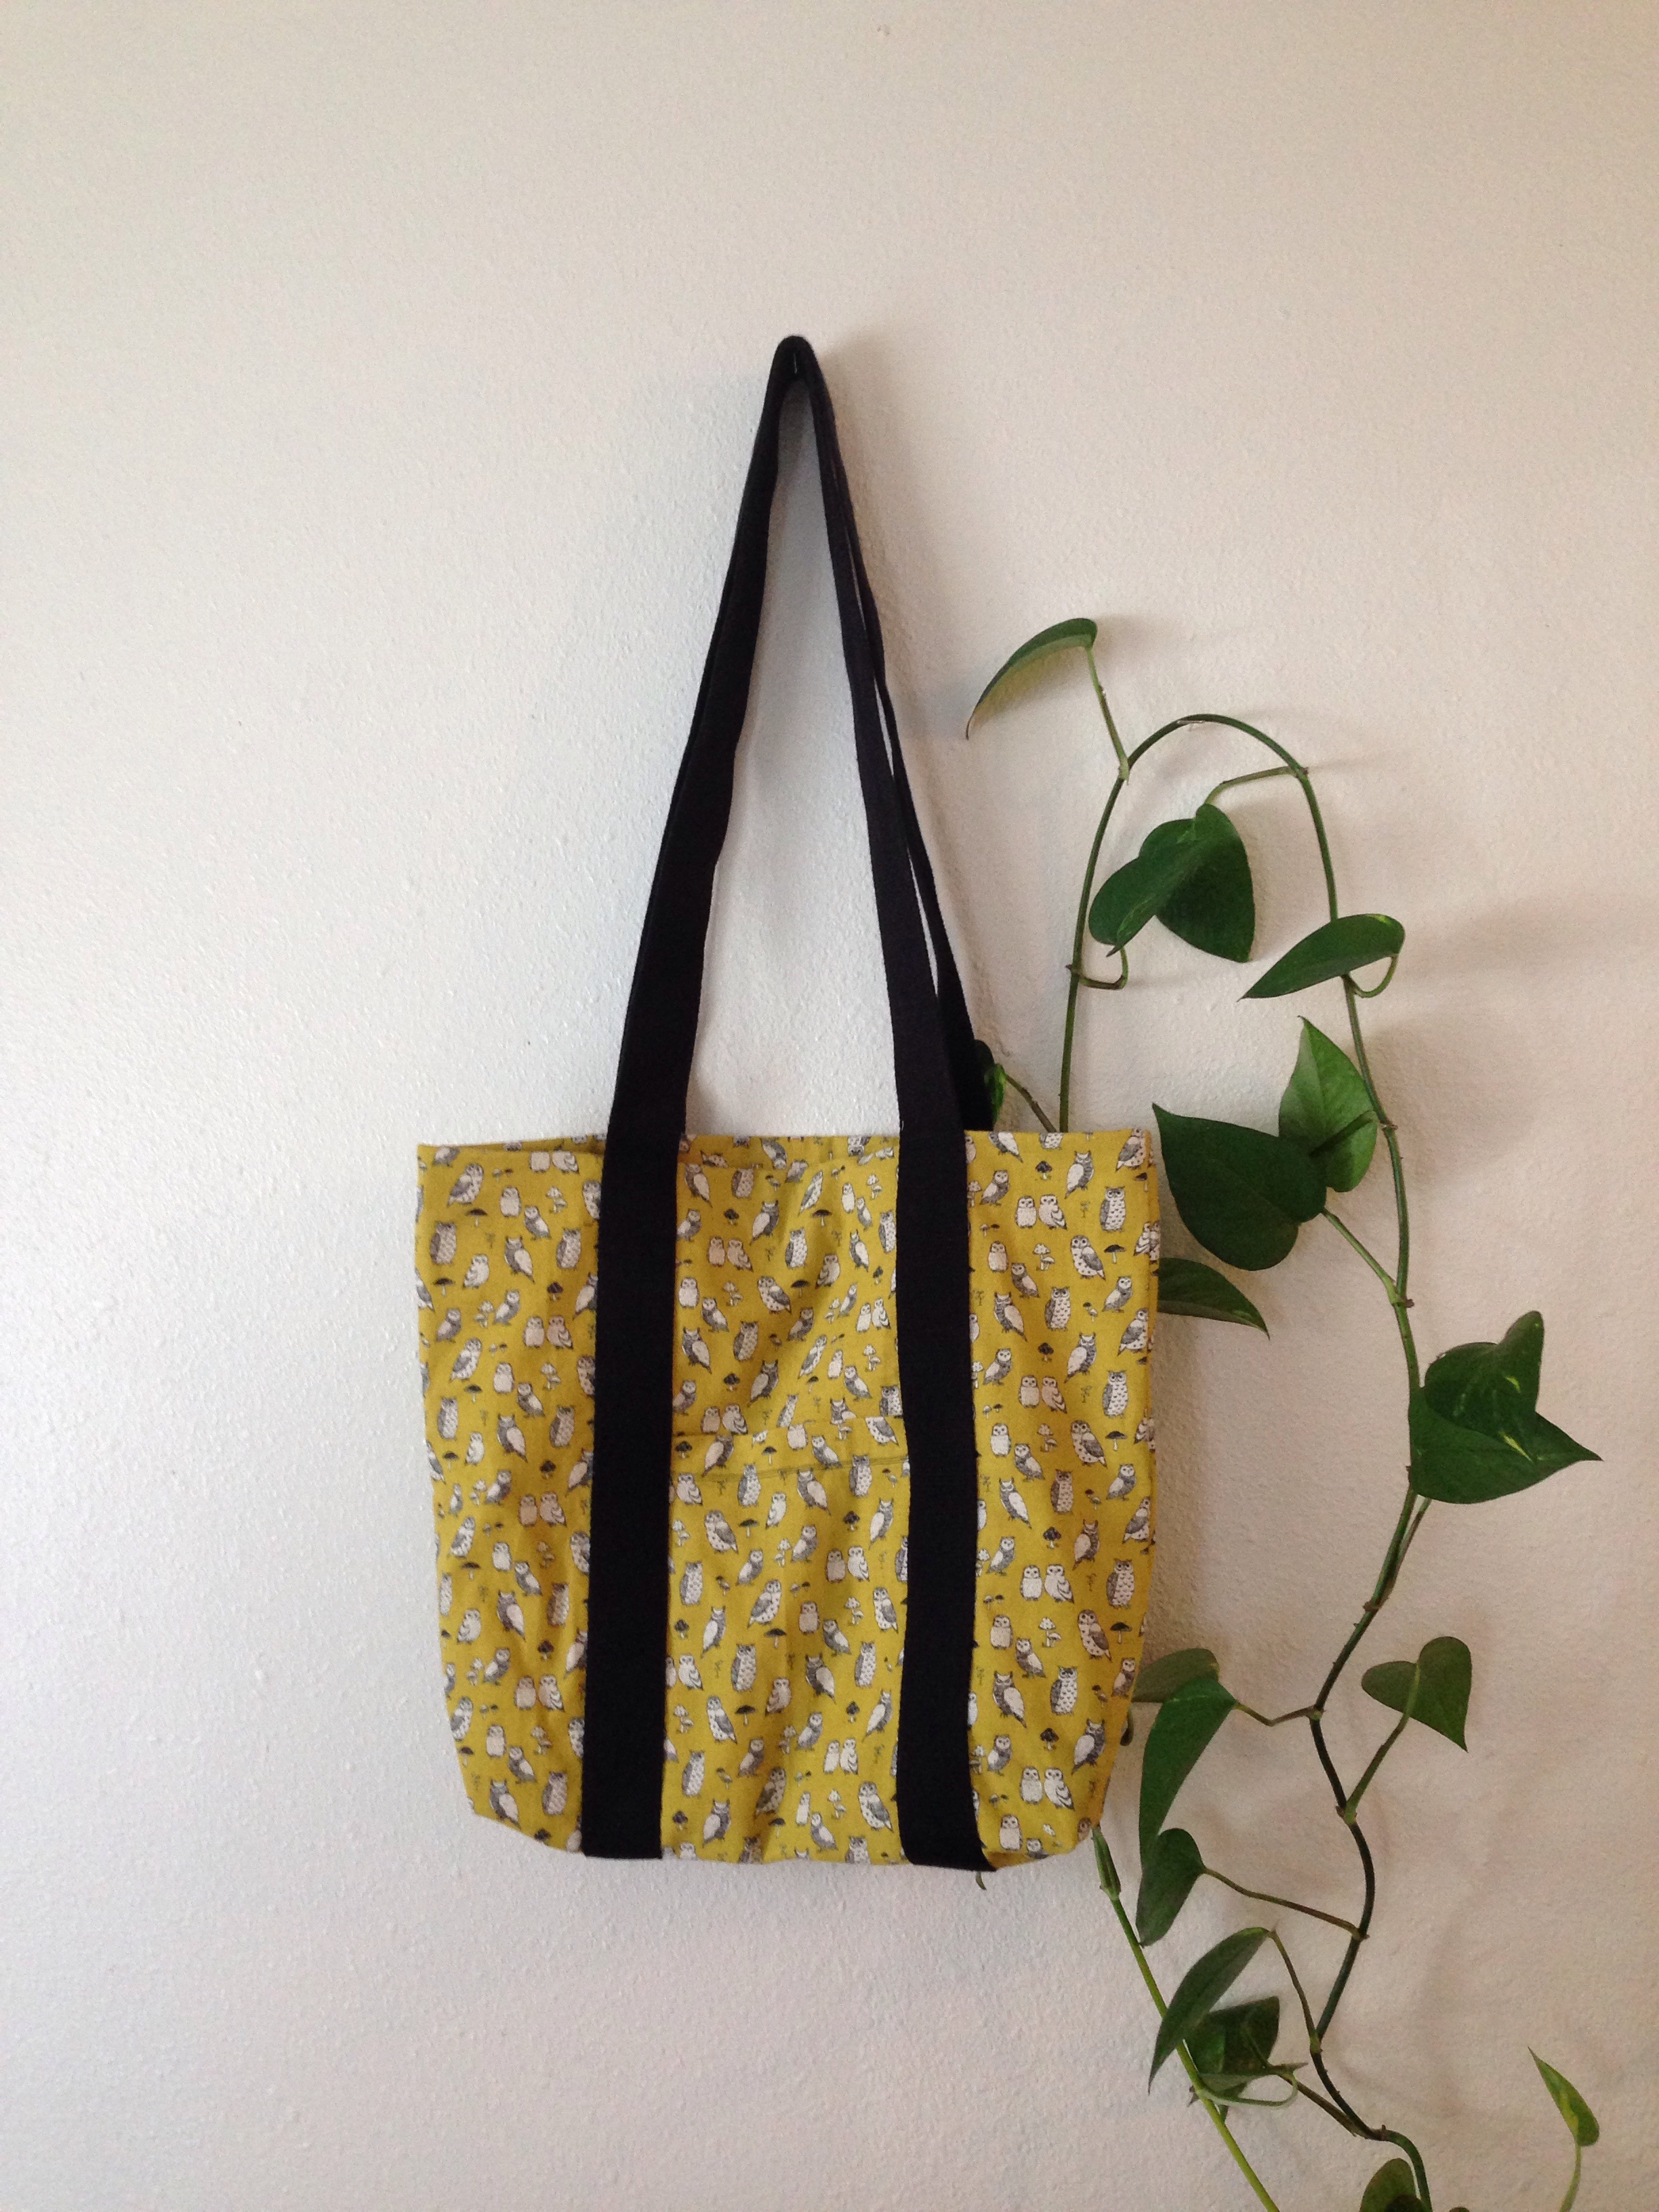
One of my favorite things to make is a simple tote bag. They're great gifts, don't require much fabric, and sew up quickly without too much thought. Perfect for a busy weekend when you're just trying to eek out a little time making. We have so much beautiful fabric for making tote bags in the store right now - like THIS and THIS and THIS and of course THESE. And shot cottons are perfect bag linings.
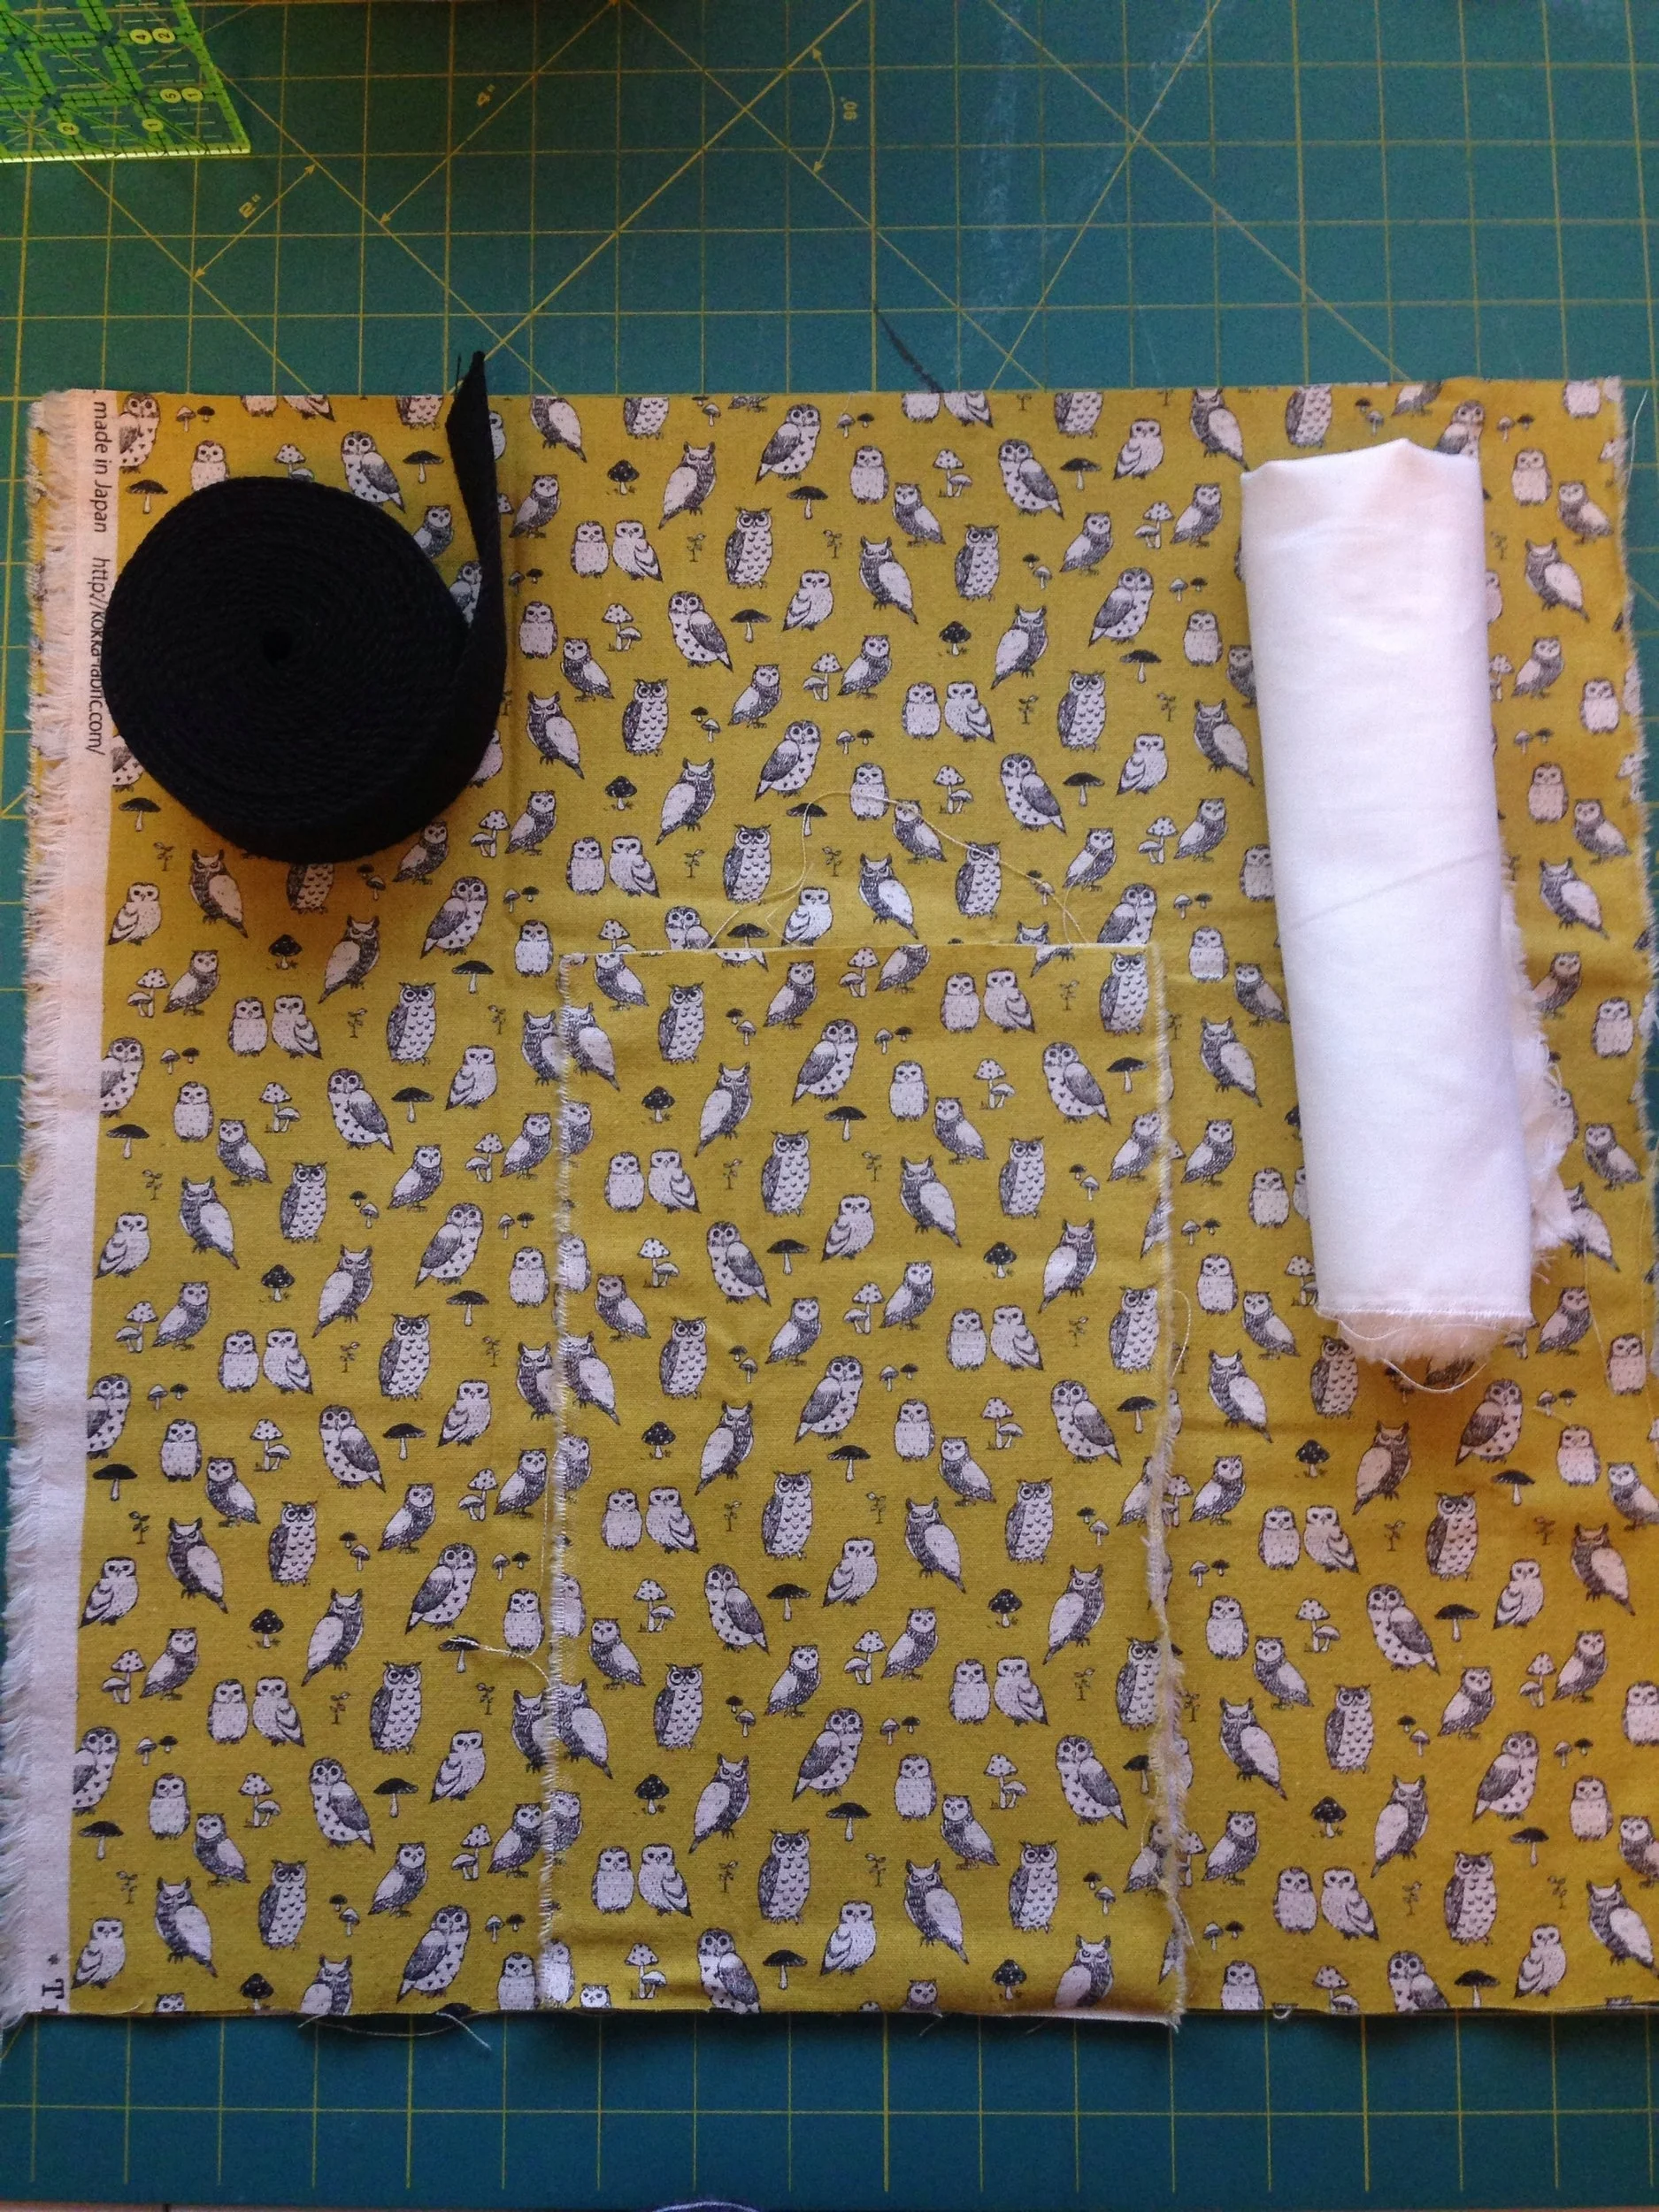
Materials:
- 1/2 yard main fabric (44/45" wide to make it a no waste bag - a wider fabric will have some waste and a narrower fabric will make a little bitty tote bag)
- 1/2 yard lining (44/45" wide - see above)
- 4 yards webbing (or a set of leather handles)
- matching thread
From your main fabric and lining fabric, start by cutting one 7"x18" stripe from one end. Cut this in half again so that you have two 7"x9" squares. These are your patch pockets. Now cut two 18"x18" squares from the main fabric and two 18"x16.5" rectangles for the lining. (The lining should be shorter than the exterior so that they fit together nicely with out a lot of extra fabric hiding your keys from you - like you need one more thing hiding your keys from you). This strip of lining that we just cut off is what makes this bag almost no waste. But you're going to use it in that scrappy quilt you're planning, right?
Prep your pockets. From the top, measure a half an inch, fold and fold again, press, and stitch all four pocket pieces. From the bottom, measure a quarter of an inch and press. For the lining pieces, repeat this step for both vertical sides. For the exterior pockets, the webbing will hide the vertical raw edges of your pockets.
Fold your pocket pieces in half length-wise and lightly press. Now fold your bag and lining pieces in half length-wise and press. Placing your folds on top of one another, measure 7.5" from the top, mark, and align the top of your pocket with this mark. For the lining pockets, stitch on to the lining pieces on both sides and the bottom. For exterior pockets, baste the sides and top stitch the bottom of the pocket in place.
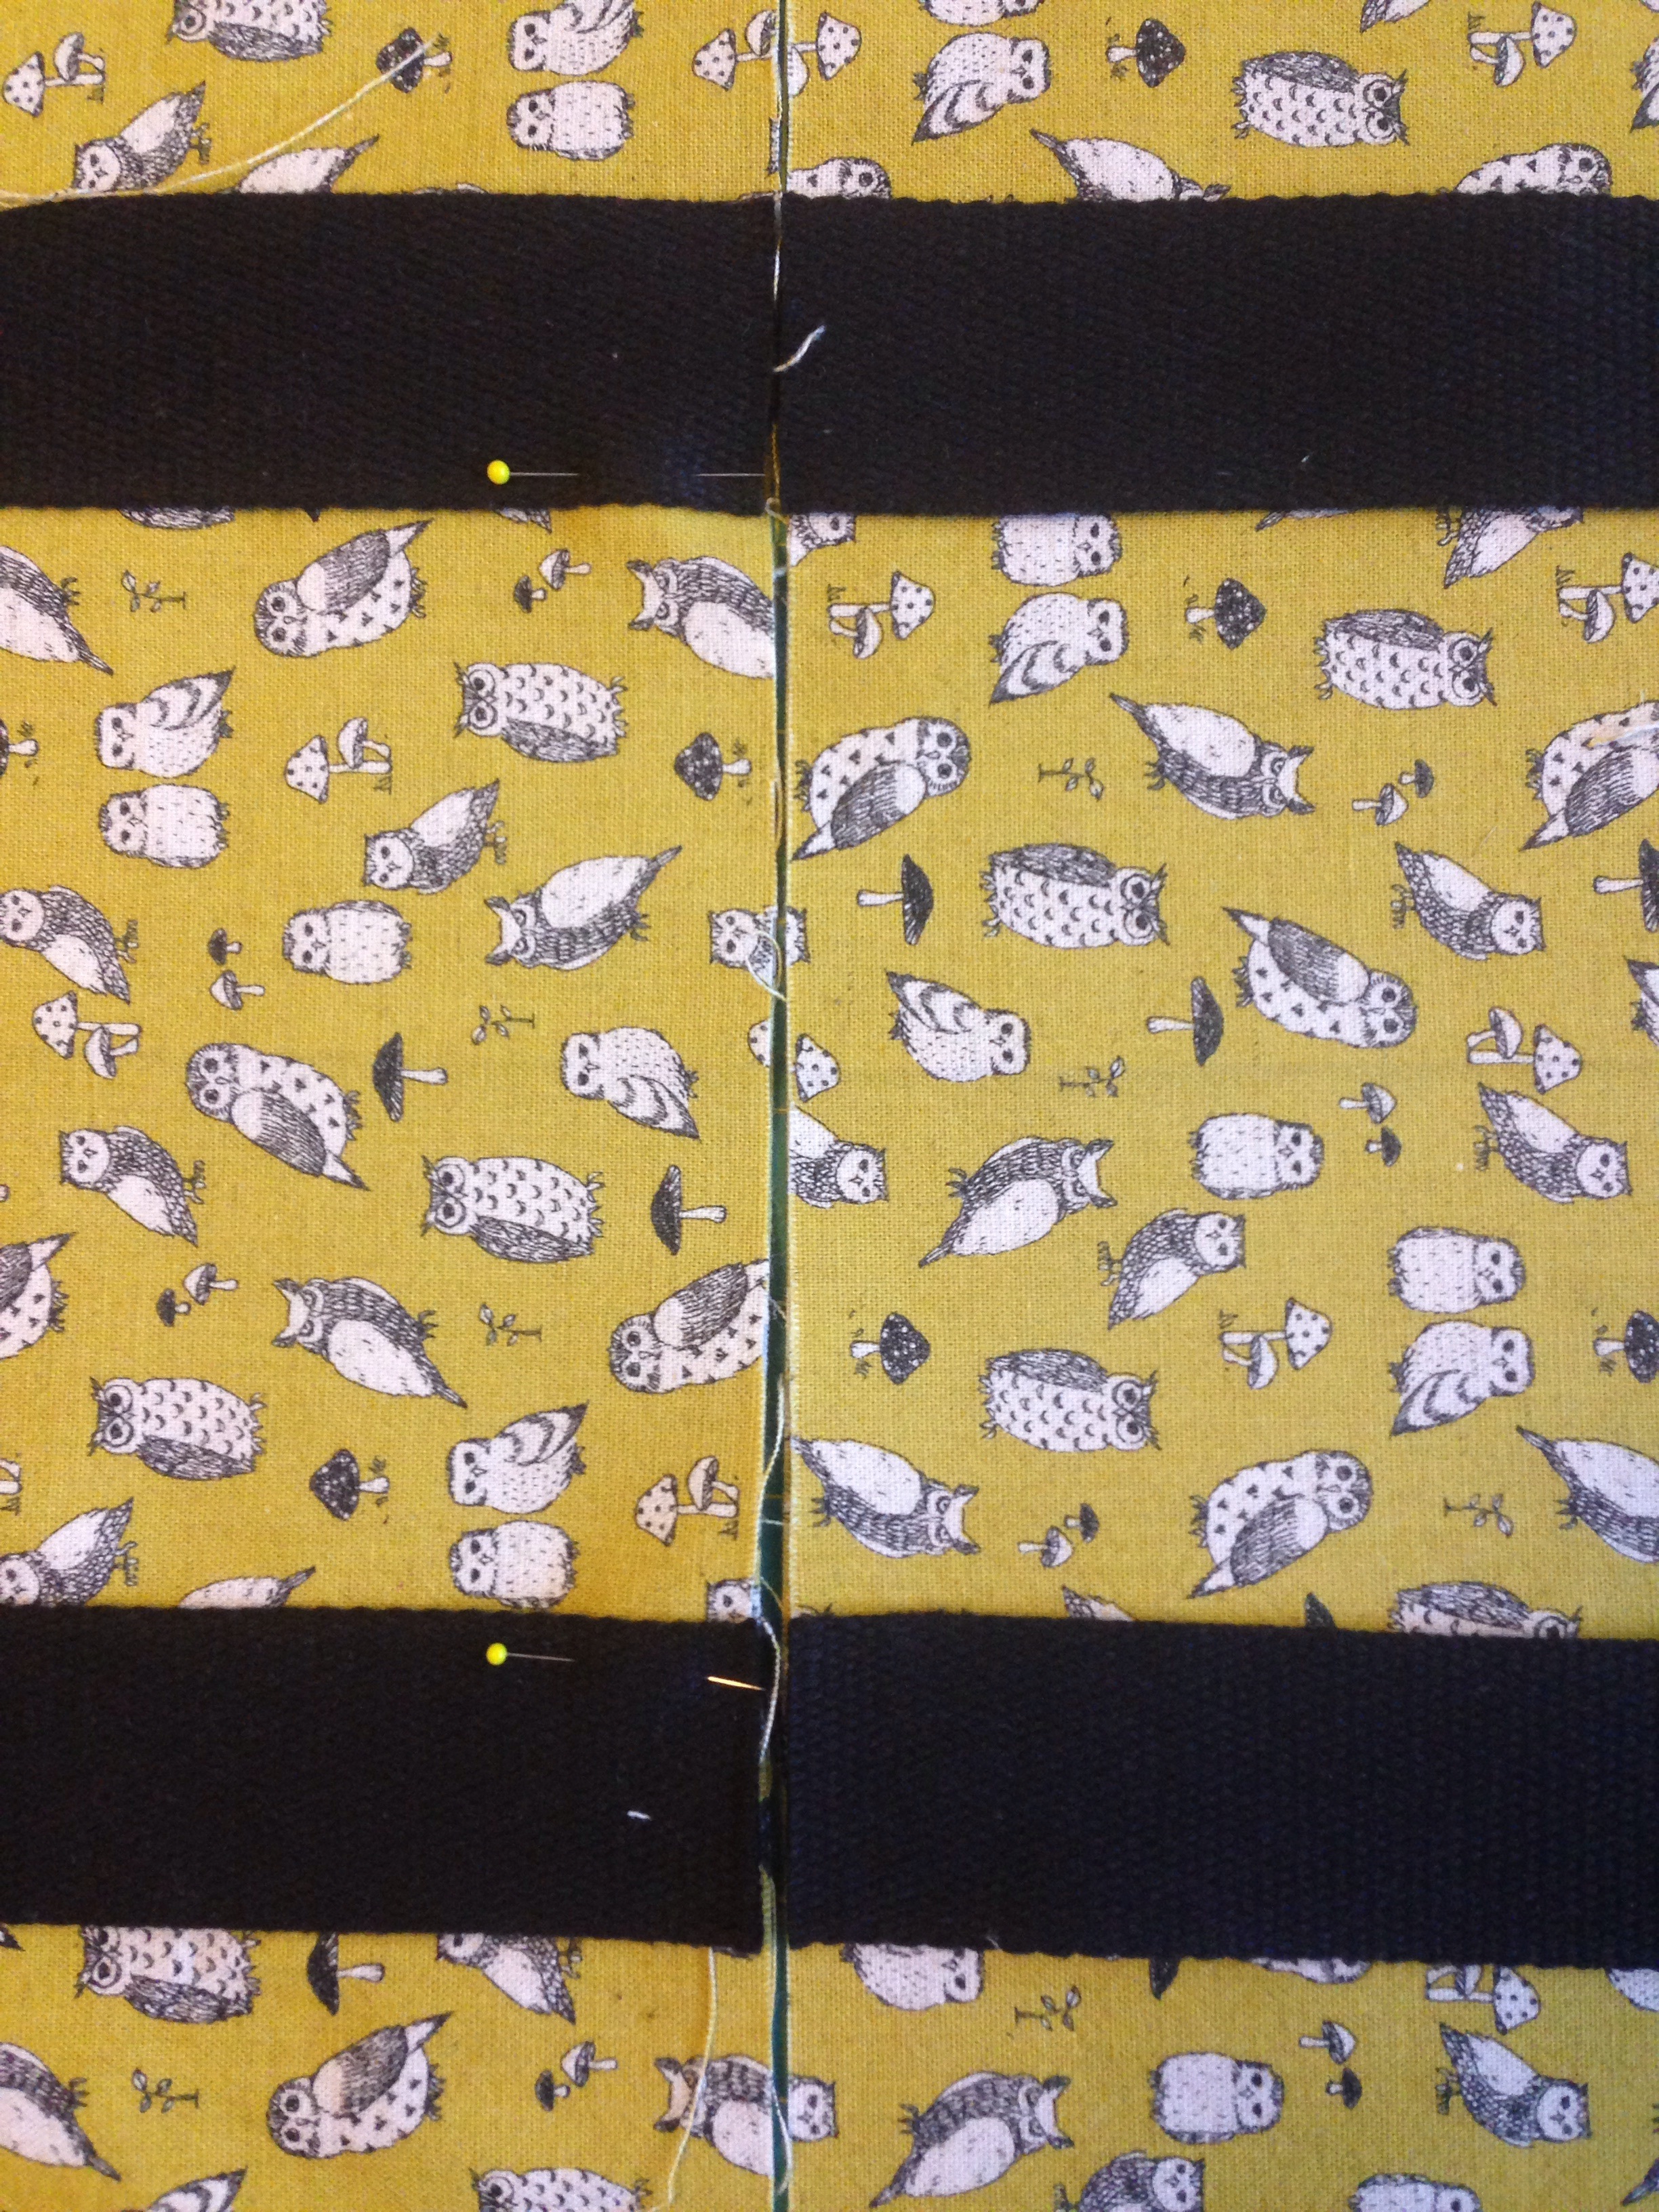
Cut your webbing into two 2 yard pieces. Pin your webbing down starting at the very bottom of the bag, making sure that the webbing overlaps your exterior pocket piece by at least 1" and that it's not twisted. Mark a line about 2" from the top of the bag. This mark is telling you where NOT to stitch. Stitch your webbing down starting from the bottom working your way around the edges. Instead of stitching all the way to the top of the bag (because you still need to attach your lining) stitch across the top of the webbing at your marked line. Repeat on the other side.
Here's a trick for getting your webbing to line up. Stitch on the first side, and then use that determine how you'll place the next side. I abut the bottom of my two tote bag pieces and pin that webbing down so it lines up with it's buddy. You know what they say, "Measure never, just eyeball stuff and decide you're ok with whatever." Our sewing fore bearers are so wise.
With right sides together, stitch your bag together with a 1/2" seam allowance on the sides and bottom. Before repeating this step to construction the lining, first cut 1.5" off the length of each side of the lining. This will make the lining fit in your tote bag neatly without a lot of extra bagging and wrinkles. Now construct the lining as you would the
You can leave the bag flat, or add gussets at the bottom corner to create a flat bottom. I love gussets. Here's how I make them.
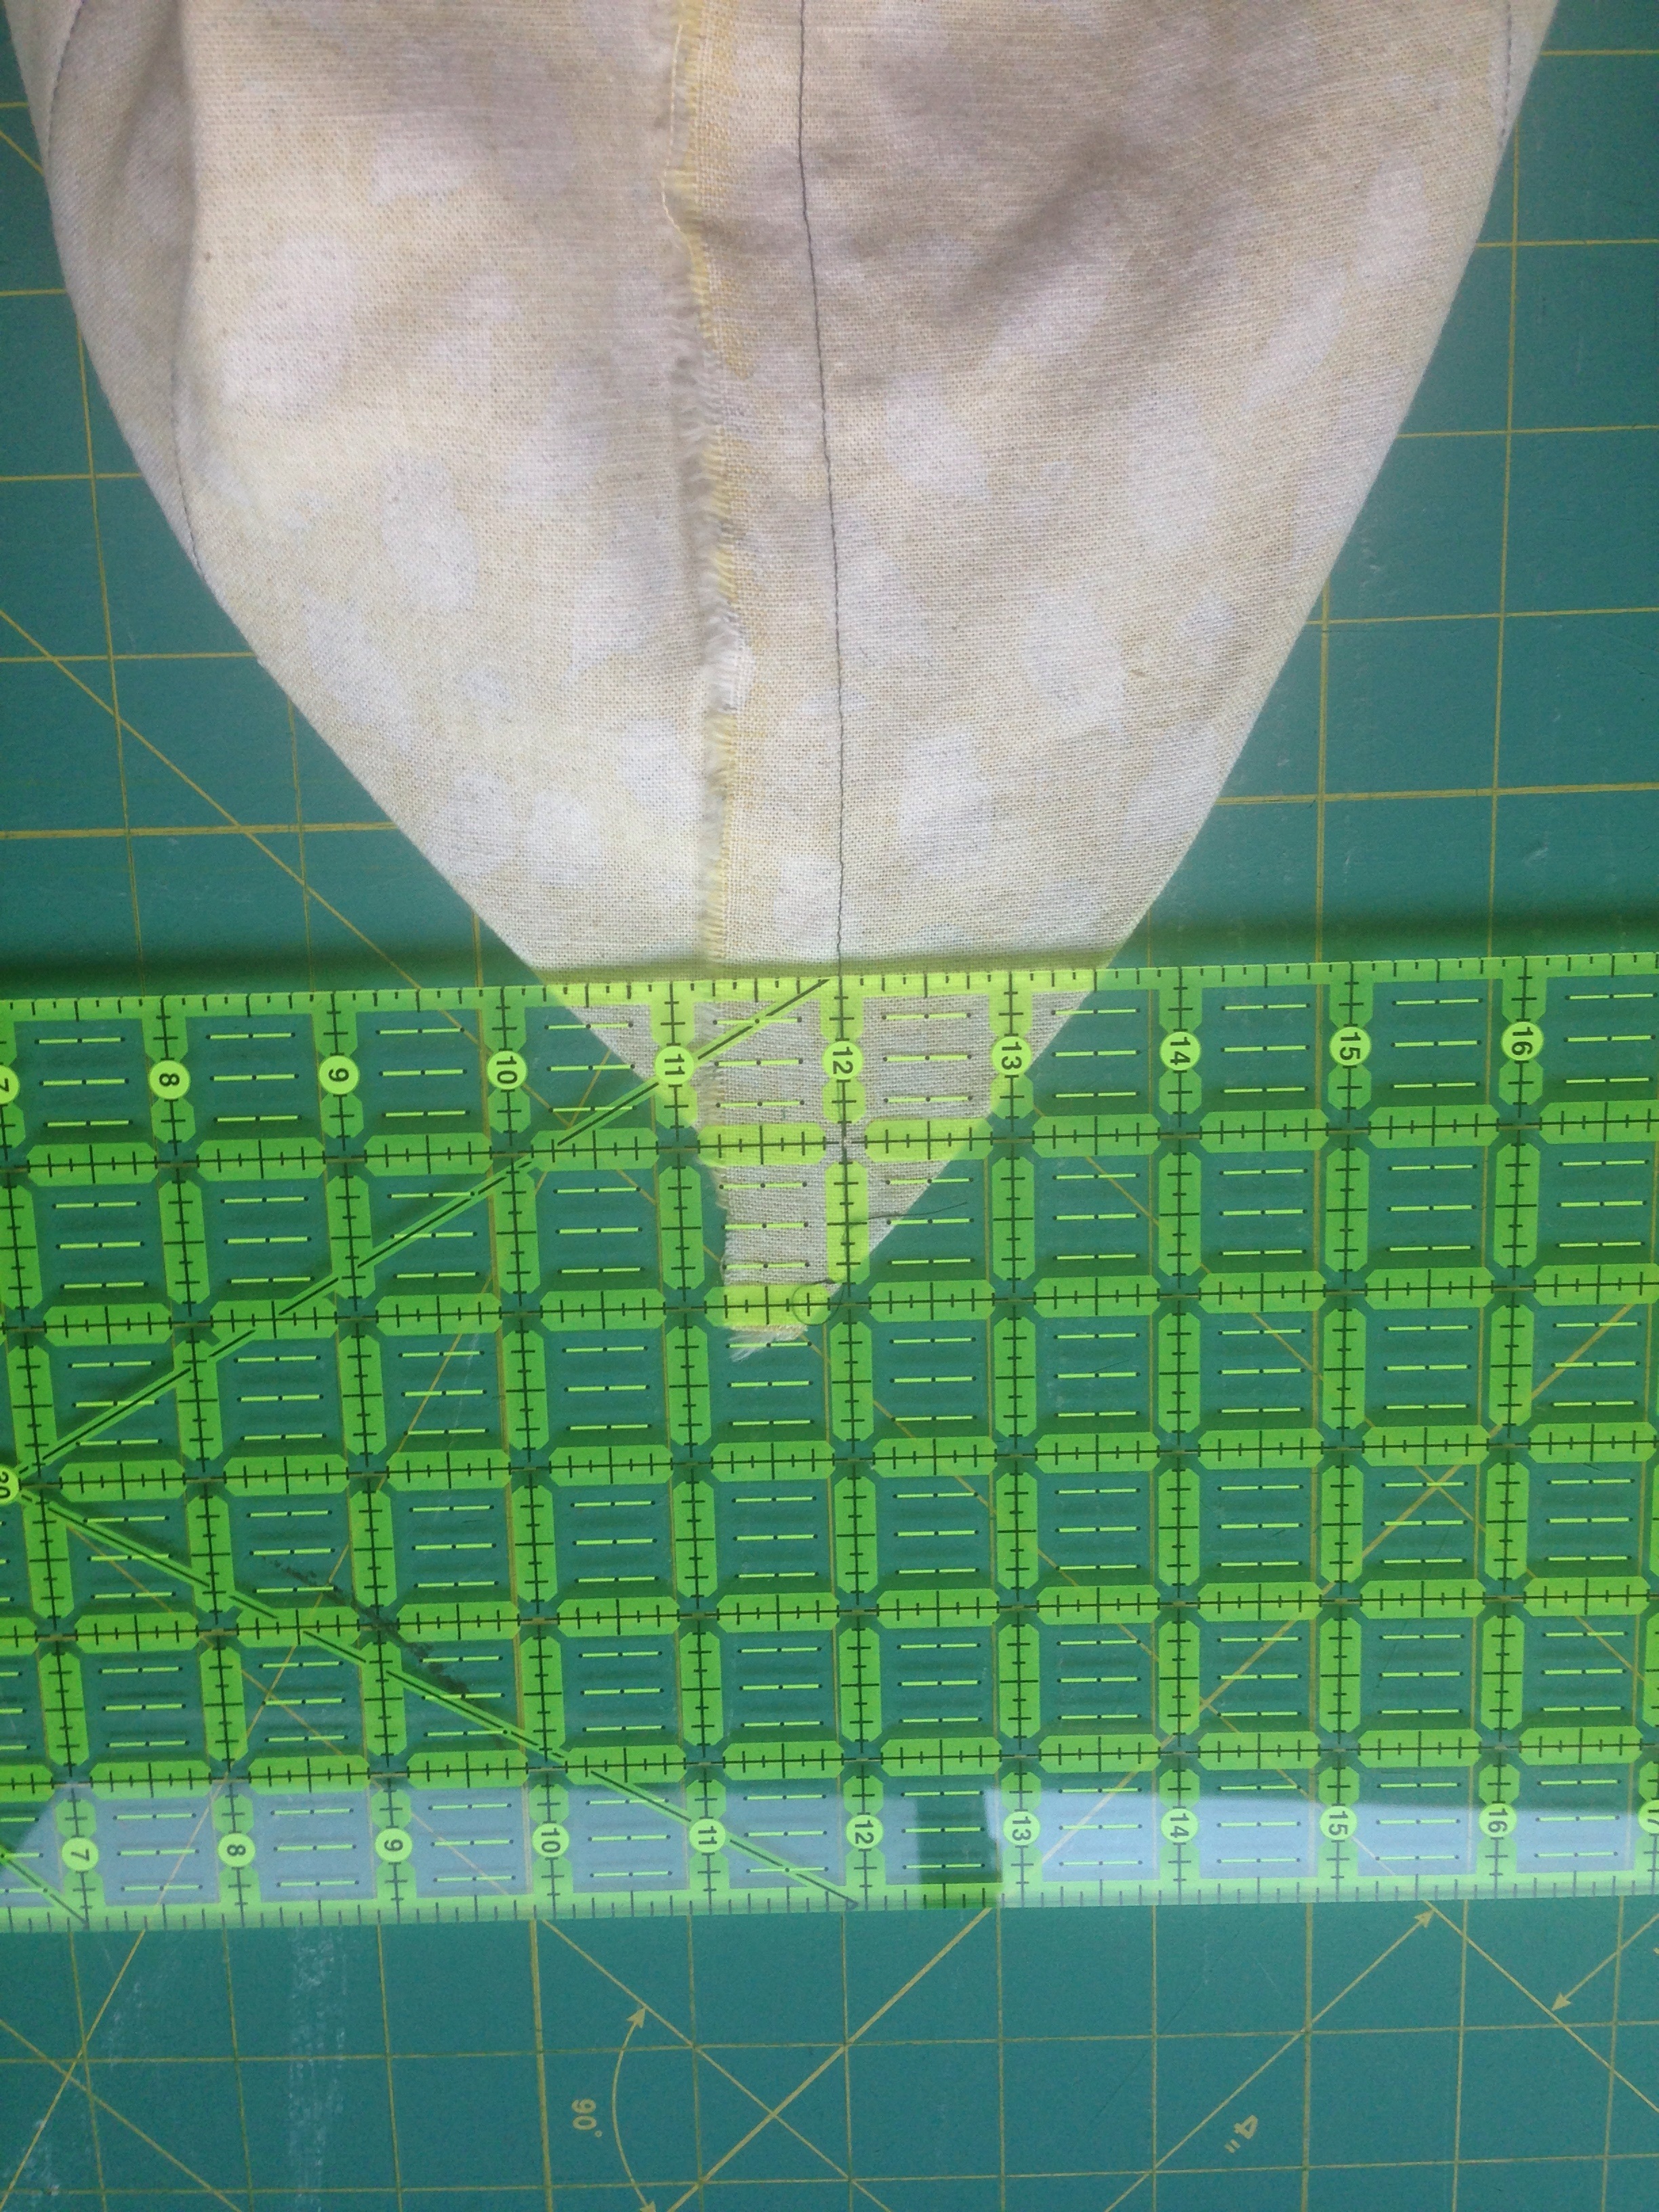
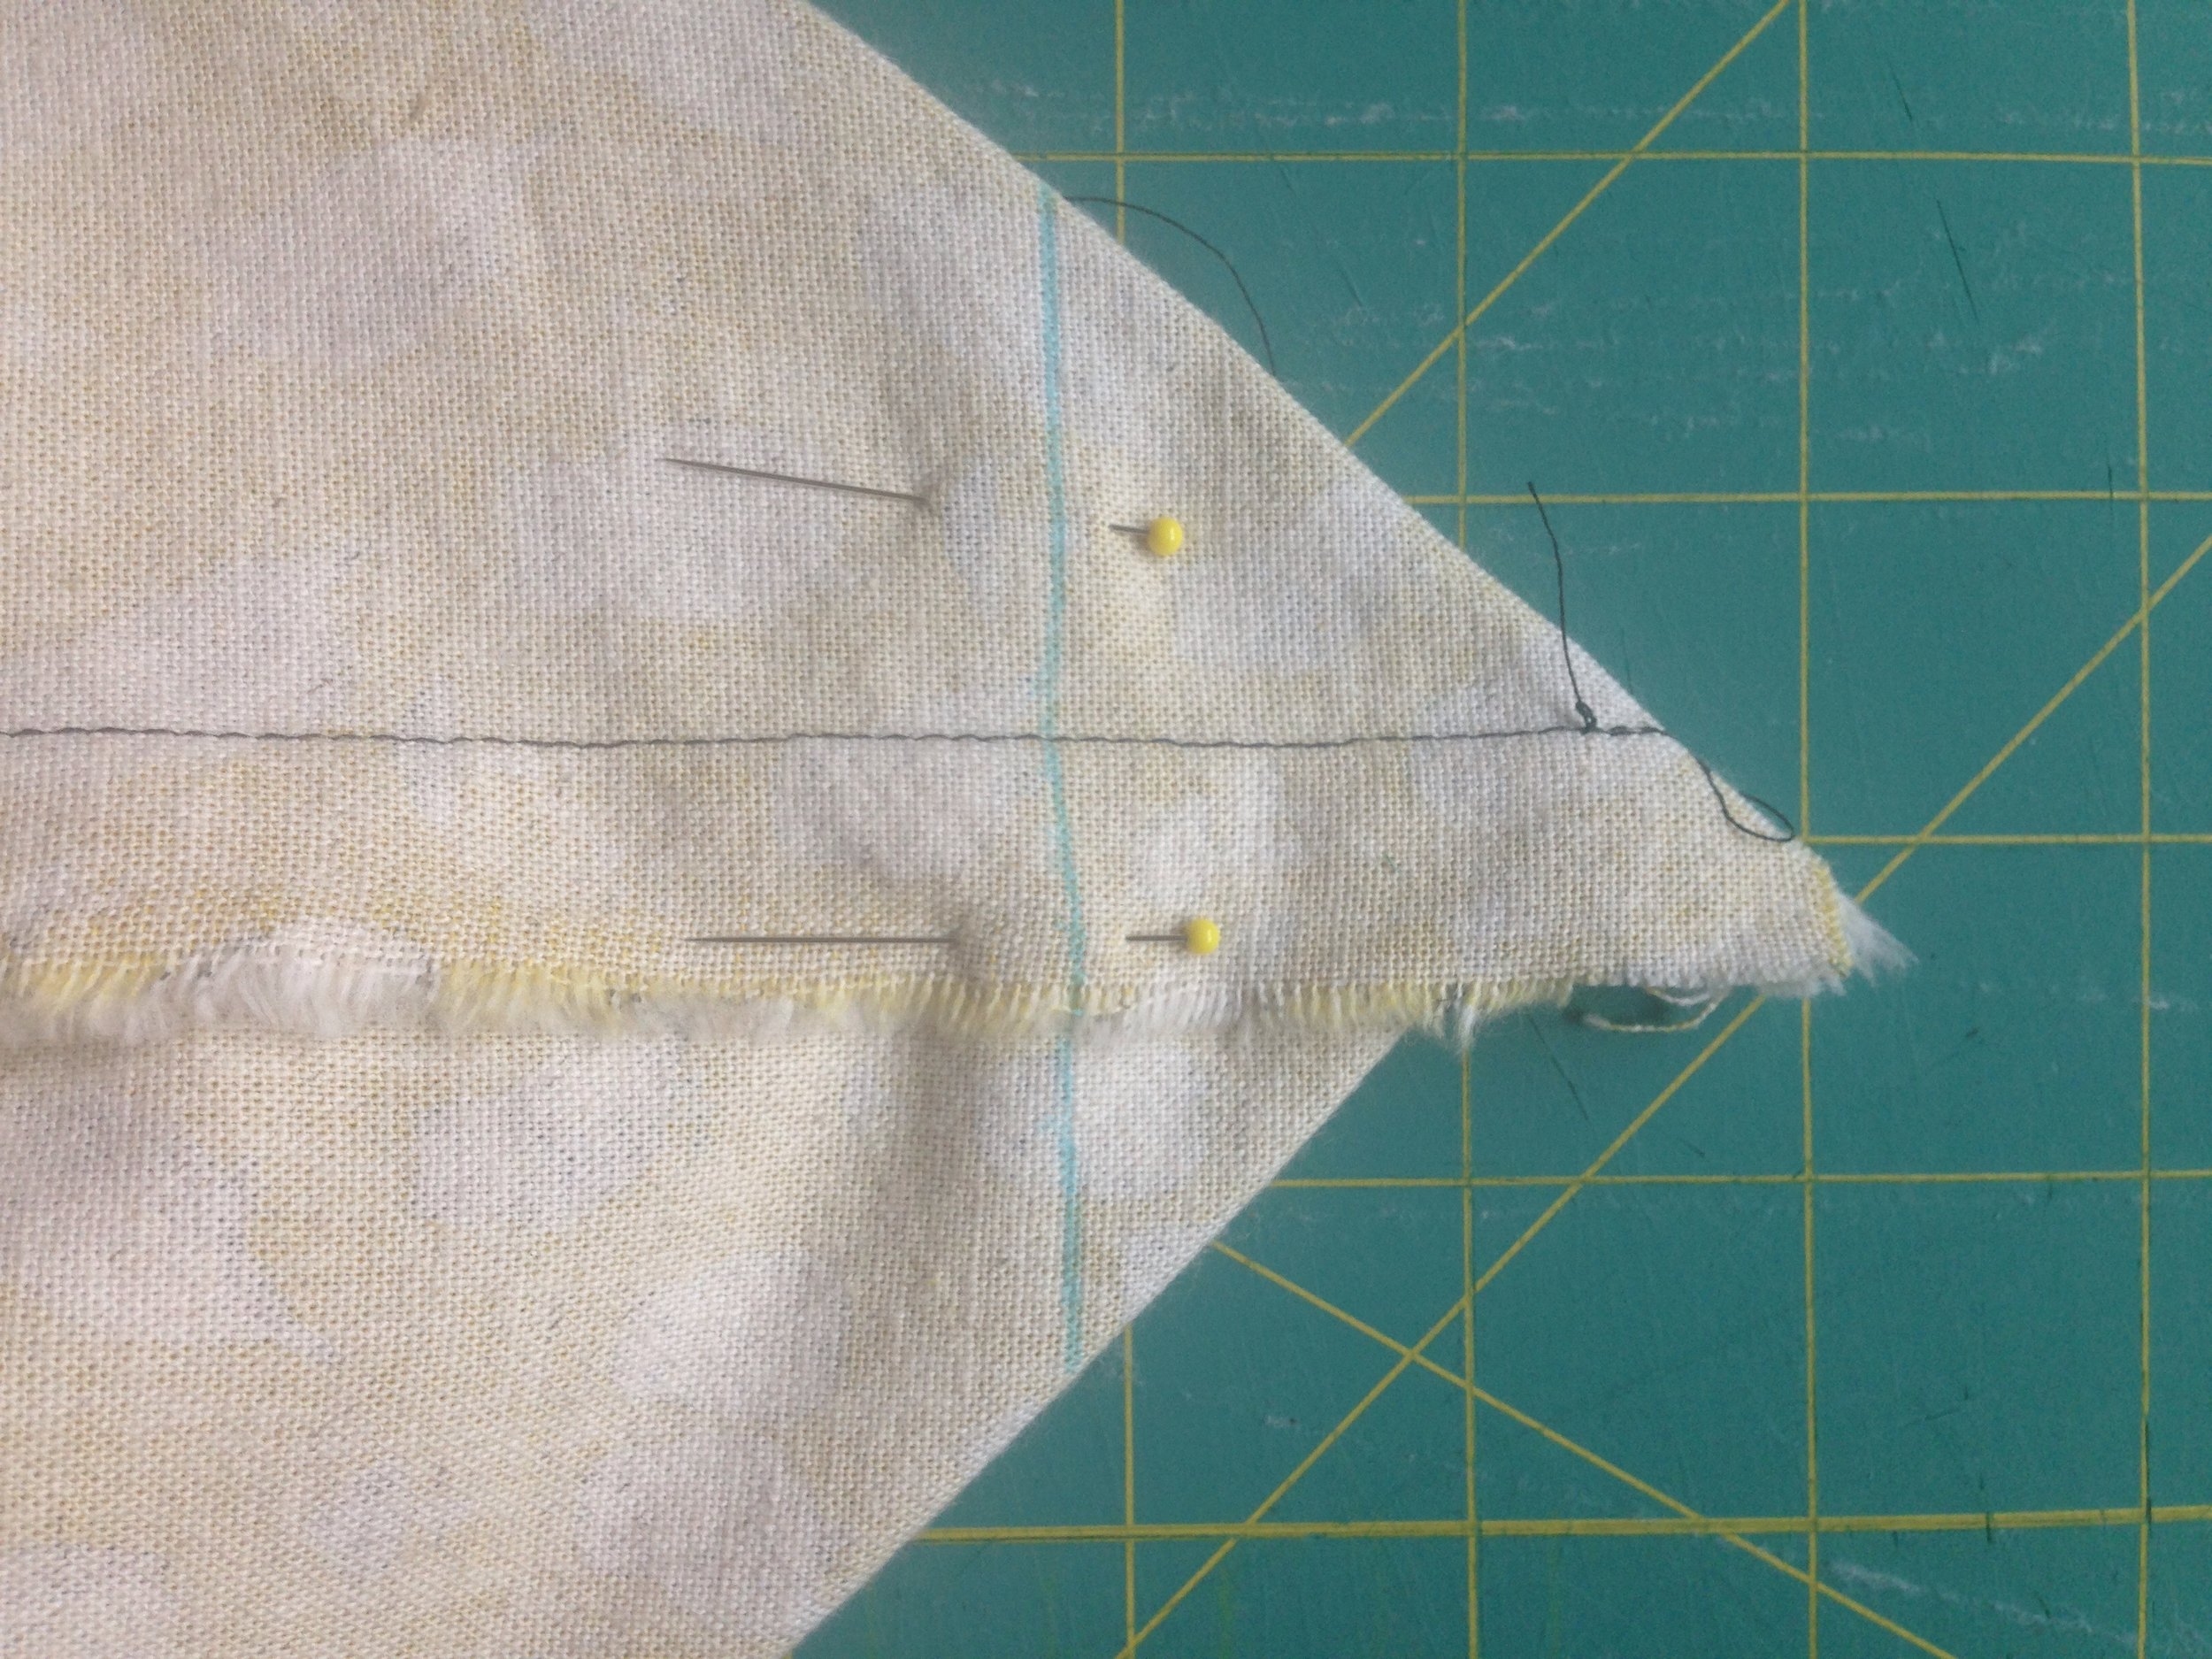
Turn your bag inside out. Take a bottom corner and align the side and bottom seam as best you can. Measure about 2" down from the corner of your bag along the aligned seams (see above) and mark a line from edge to edge.
Pin across that line and stitch 'er up.
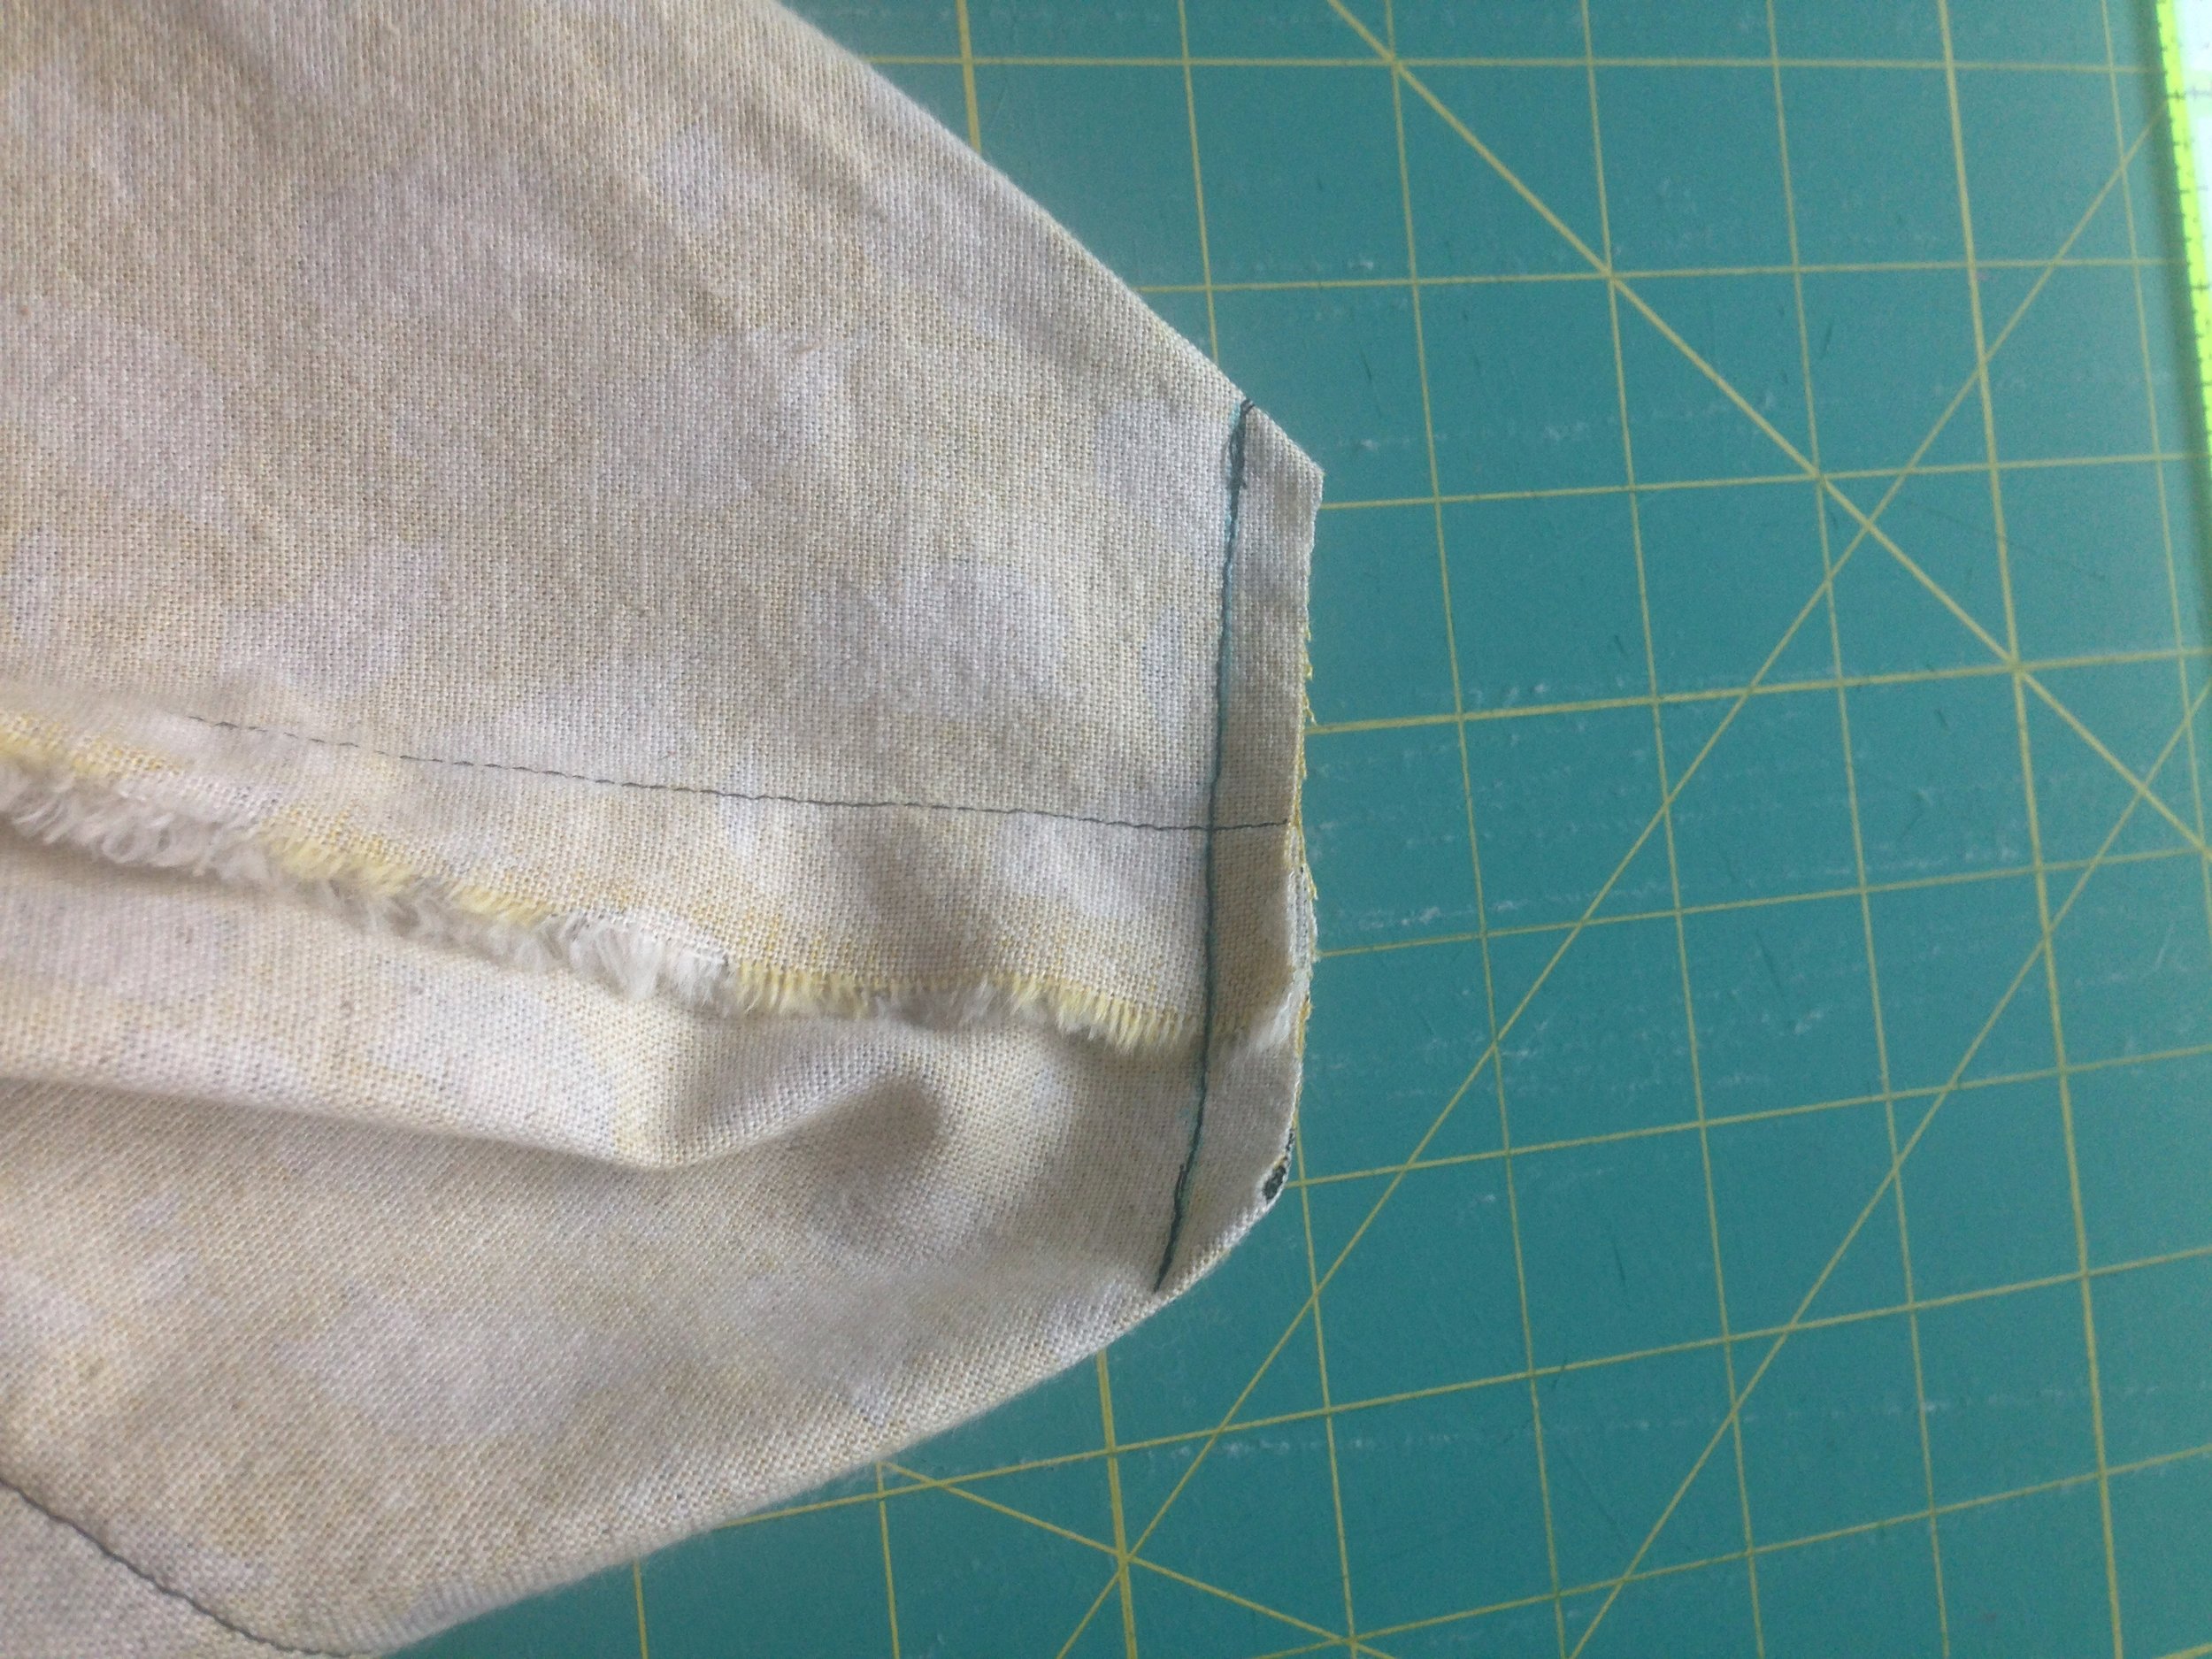
Trim that corner off - I like to use pinking shears when I can find them. This day, I could not find them. That's just the way it goes sometimes. Congratulations! You've gusset-ed! Now your bag looks totally official.
Turn your lining inside out and place your bag inside the lining so that right sides of the exterior faces the right side of the lining. Pin around the top edge and stitch together using a 1/2" seam allowance. DON'T stitch your bag all the way together. Leave an 8" gap so that you can turn them right side out. Now press your seam and top stitch all the way around being sure to close up the gap you left.
You're done! Now you can whip up a tote bag and your friends know what they'll be getting for their birthdays for the next few years. See you soon!